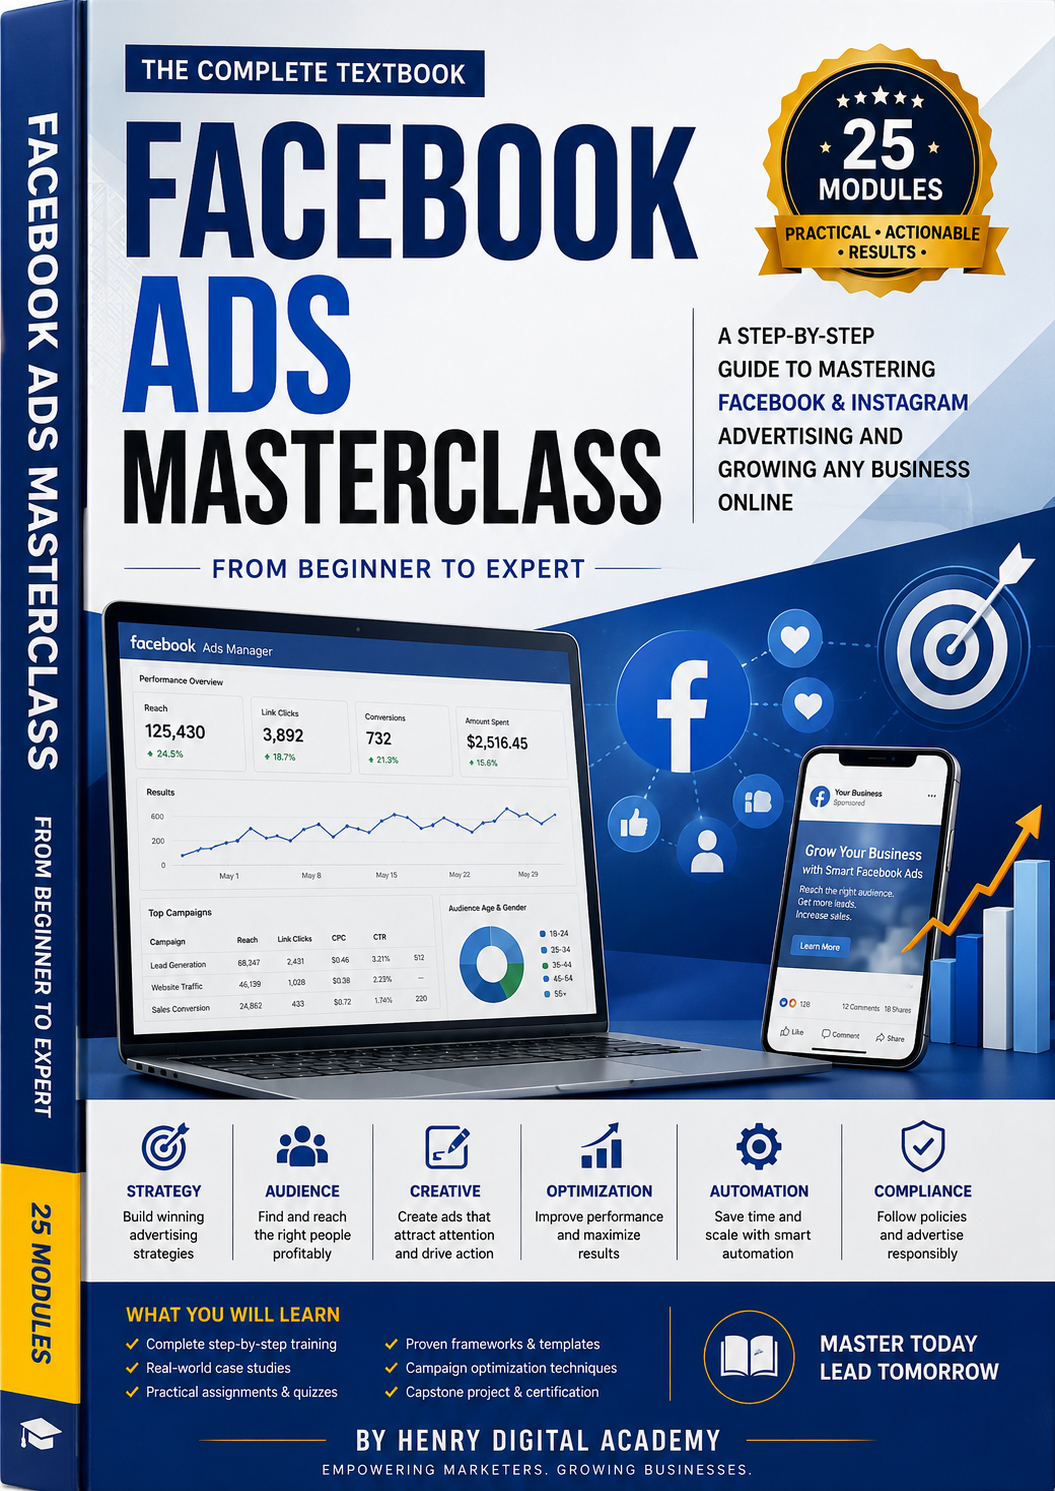
Step by step on how to run Facebook ads

Here's a detailed beginner's guide to running Facebook ads, especially if you're promoting a business, product, or network marketing training.
Step 1: Create the Foundation
Before you run an ad, you need:
A Facebook account
A Facebook Business Page
A payment method (debit/credit card or another supported payment option)
A website, WhatsApp Business account, or landing page where people will contact you
Step 2: Open Meta Ads Manager
Go to https://adsmanager.facebook.com�
Log in.
Click Create.
This opens the ad creation process.
Step 3: Choose Your Objective
Meta asks what you want to achieve.
Awareness
Use this if you simply want many people to know about your business.
Example:
New business launch
Brand awareness
Traffic
Use this when you want people to visit:
Your website
Messenger
Landing page
Example: "Click here to learn more."
Engagement
Use this if you want:
More likes
More comments
More shares
More video views
More page followers
Leads
Use this if you want people to:
Fill out a form
Book an appointment
Leave their phone number
Request more information
This is one of the best objectives for growing a network marketing team.
Sales
Use this when selling products through a website or online store.
Step 4: Name Your Campaign
Example:
Auto Recruit Campaign
July Business Training
C24/7 Sales Campaign
Giving clear names makes it easier to find campaigns later.
Step 5: Set Your Budget
Choose one of two options.
Daily Budget
Example:
₦5,000 every day
If it runs for 10 days:
₦5,000 × 10 = ₦50,000
Lifetime Budget
Example:
₦30,000 total for one week.
Meta decides how to spend it across the campaign.
Step 6: Choose Your Audience
This is one of the most important steps.
Location
Example:
Nigeria
Delta State
Lagos
Port Harcourt
Abuja
Age
Example:
25–45 years
Gender
Men
Women
Everyone
Interests
For a network marketing business, you might choose interests such as:
Entrepreneurship
Small business
Digital marketing
Personal development
Business opportunity
Online business
Leadership
Passive income
The better your targeting matches your audience, the more relevant your ad is likely to be.
Step 7: Choose Placements
You have two choices.
Advantage+ Placements (Recommended)
Meta automatically decides where your ad performs best.
Your ad may appear on:
Facebook Feed
Instagram Feed
Stories
Reels
Messenger
Audience Network
Manual Placements
You choose exactly where your ads appear.
Step 8: Create Your Ad
Upload:
One clear image or
A short video (15–30 seconds often works well)
Write:
Primary Text
Explain:
The problem
Your solution
Why people should act now
Example:
Want to build a business without spending all day chasing people? Learn how our automated system helps you generate leads and follow up more efficiently. Join our free training today.
Headline
Examples:
Learn Automated Network Marketing
Build Your Business Smarter
Free Business Training
Description
Add a short supporting sentence.
Example:
Limited seats available.
Step 9: Add a Call to Action
Examples include:
Learn More
Sign Up
Send WhatsApp Message
Contact Us
Register Now
Choose the button that matches the action you want people to take.
Step 10: Review and Publish
Before clicking Publish, check:
Is the text free of spelling mistakes?
Is the image or video clear?
Does the link work?
Is the audience correct?
Is the budget correct?
Once published, Meta reviews the ad. Approval can take from a few minutes to up to 24 hours.
After Your Ad Starts Running
Monitor these key metrics:
Reach – How many people saw your ad.
Impressions – How many times it was shown.
Clicks – How many people clicked.
CTR (Click-Through Rate) – The percentage of viewers who clicked.
Cost per Result – How much you paid for each lead, message, or click.